

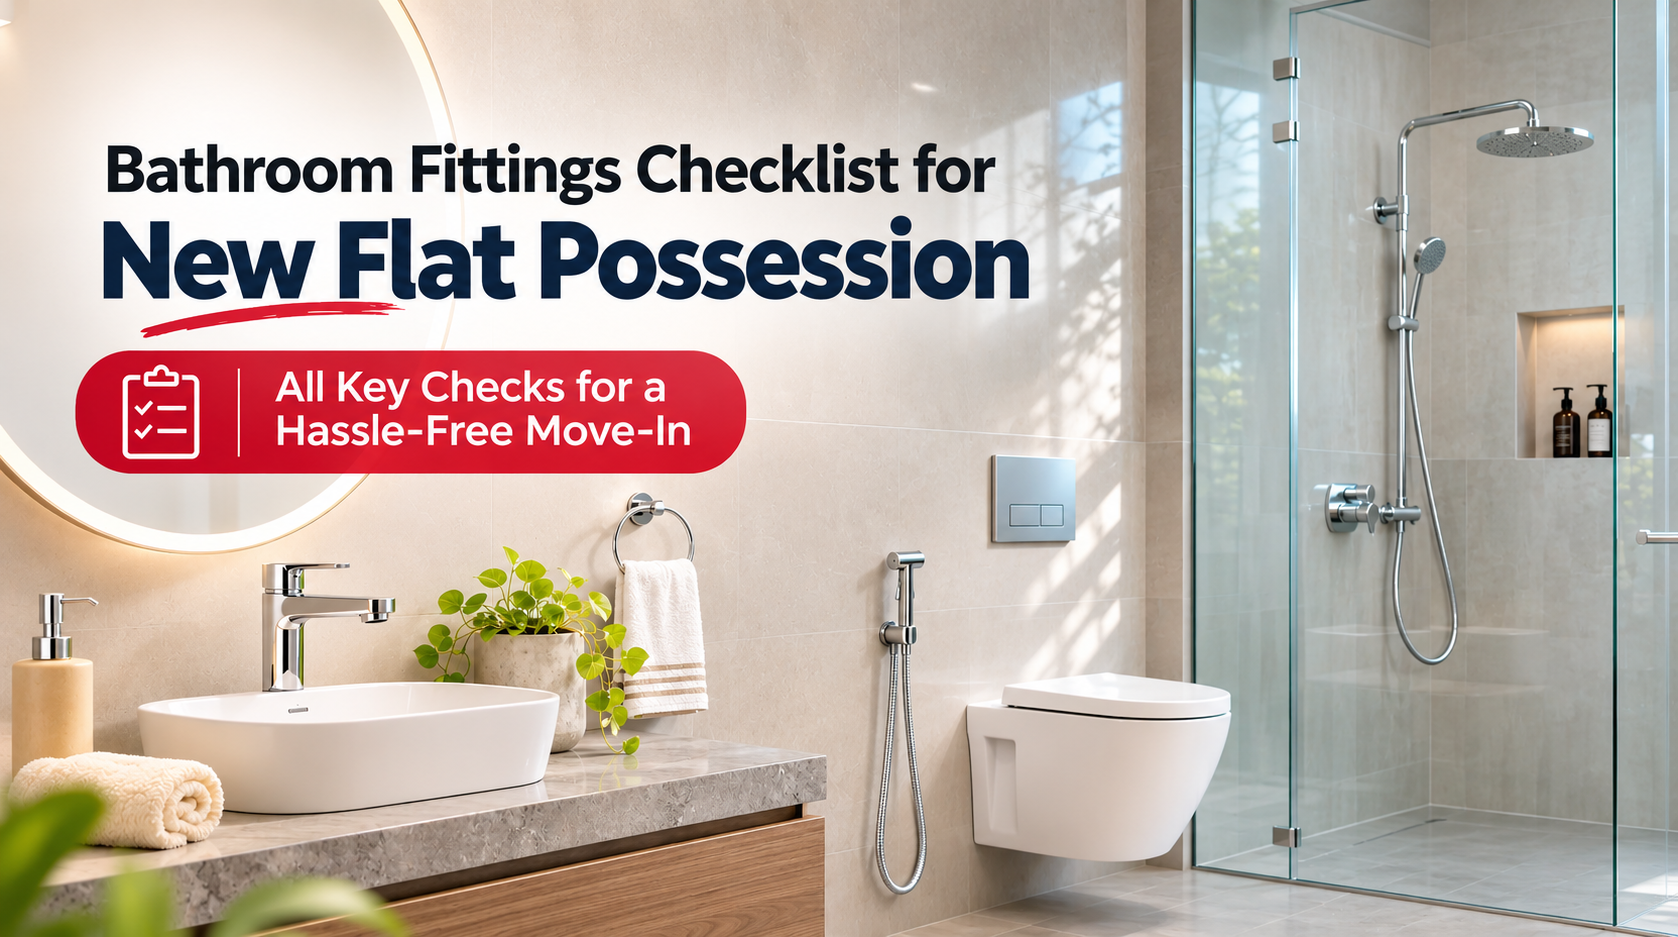
Getting the keys to a new flat is a big moment, and a bathroom fittings checklist helps you make the most of it. However, in the excitement of possession day, many buyers rush through the inspection and miss problems that show up only after they move in.
The bathroom is where most of these hidden issues sit. A slow leak behind a wall, a loose basin or a poorly sloped floor can lead to damp patches, bad smells and costly repairs later. This bathroom fittings checklist for new flat possession will help you inspect every tap, shower and drain before you sign off, so small faults get fixed by the builder rather than paid for by you.
Why Inspect Bathroom Fittings Before Possession?
Builders usually install basic fittings to keep project costs in check. Most work well, but fitting quality and installation can vary from flat to flat. As a result, checking each bathroom carefully is one of the most useful things you can do on possession day. A written bathroom fittings checklist keeps the inspection organised and complete.
What to Carry on Inspection Day
Take these with you, along with a printed copy of this bathroom fittings checklist:
- A bucket and mug: to test drainage and floor slope.
- A spirit level or a marble: to check if floors slope towards the drain.
- Tissue paper: to spot slow leaks at joints.
- Your phone: to photograph and video every issue with a timestamp.
The Complete Bathroom Fittings Checklist
Work through this bathroom fittings checklist one bathroom at a time. Run water for a few minutes at every point, because some leaks appear only under steady flow.
1. Taps and Water Pressure
Start with the bathroom tap fittings. Open each tap fully and check the flow on both hot and cold sides. The handle should turn smoothly without wobbling, and there should be no dripping once it is closed.
A sputtering stream often means construction debris is blocking the aerator. Also test the toilet tap and any bathroom sink taps for the same issues.
2. Showers and Diverters
Turn on the bathroom rain shower and the bathroom hand shower one at a time. Good examples are the 10″ Rain Shower (Brass) and the Adjustable Single Function Hand Shower. Look for even spray from all nozzles and steady pressure. Then switch the diverter and make sure water fully moves between outlets.
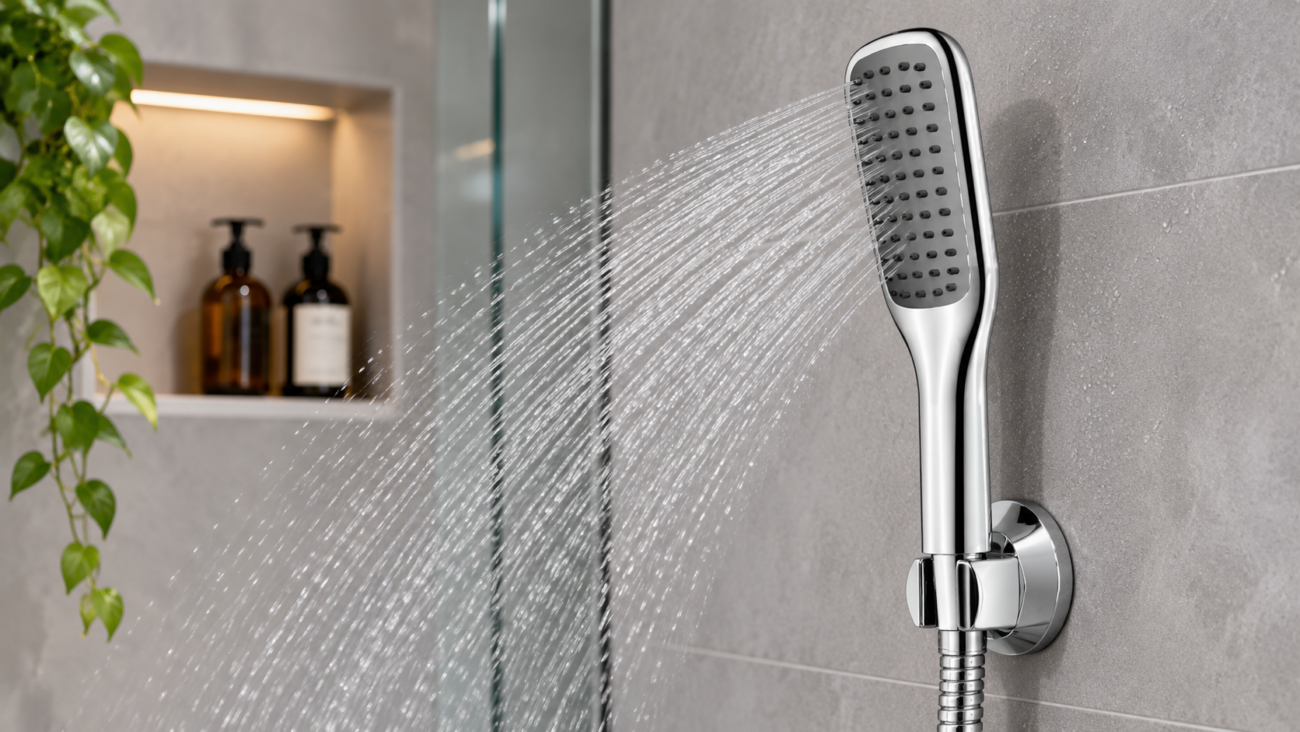
Check every bathroom shower fitting where it meets the wall. Water seeping around the shower arm or wall flange can point to a problem with the shower pipe fittings inside the wall, which is much harder to fix later.
3. Angle Valves and Geyser Points
Angle valves control water supply to taps, toilets and the geyser. Turn each one off and on to confirm it works and does not leak. A quality brass valve such as the Angle Valve (Kingston Series) should turn smoothly. Furthermore, check that the geyser inlet and outlet points are fitted and positioned correctly. Our guide to angle valves for bathroom and geyser use explains what a good valve should do.
4. Wash Basin and Bottle Trap
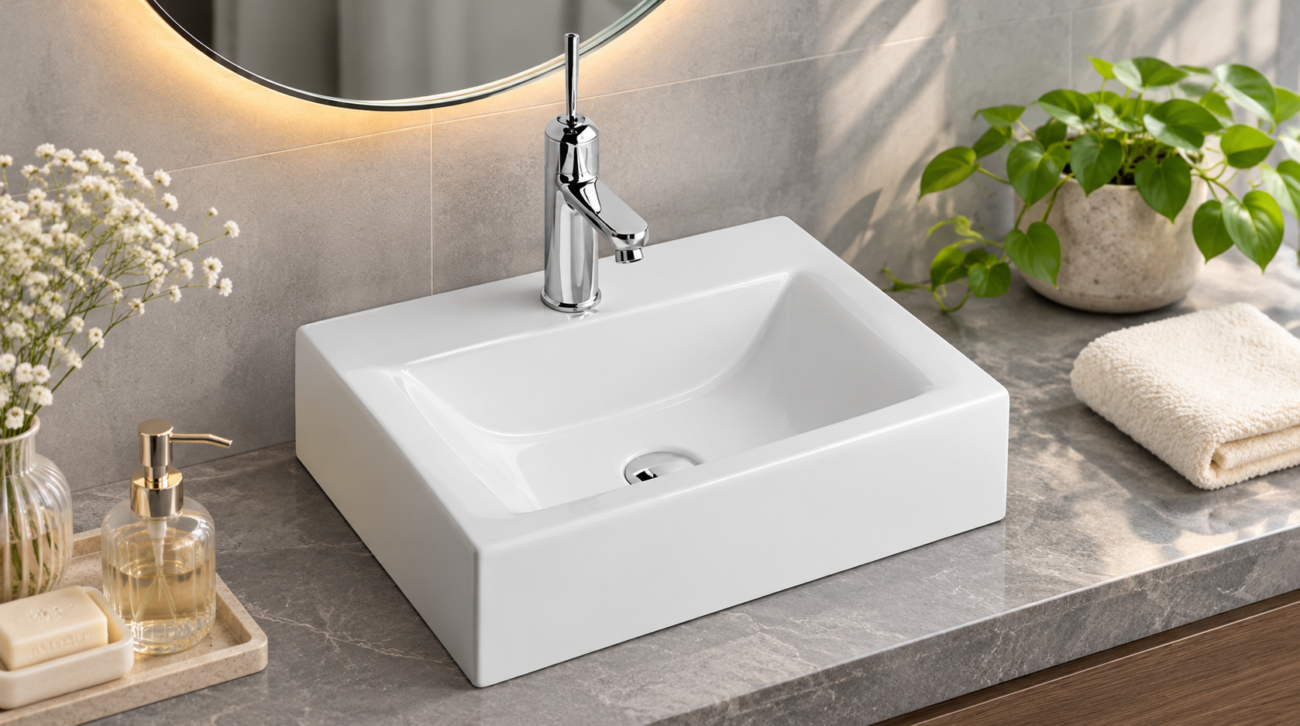
Press gently on the basin edge. A wall hanging washbasin, such as the Agate, should feel completely firm, with no gap or movement against the wall. Fill the basin, then release the water and watch how quickly it drains.
Next, place tissue under the basin bottle trap and waste pipe. Even a few drops on the tissue mean the bottle trap fitting needs tightening or resealing.
5. Toilet and Health Faucet
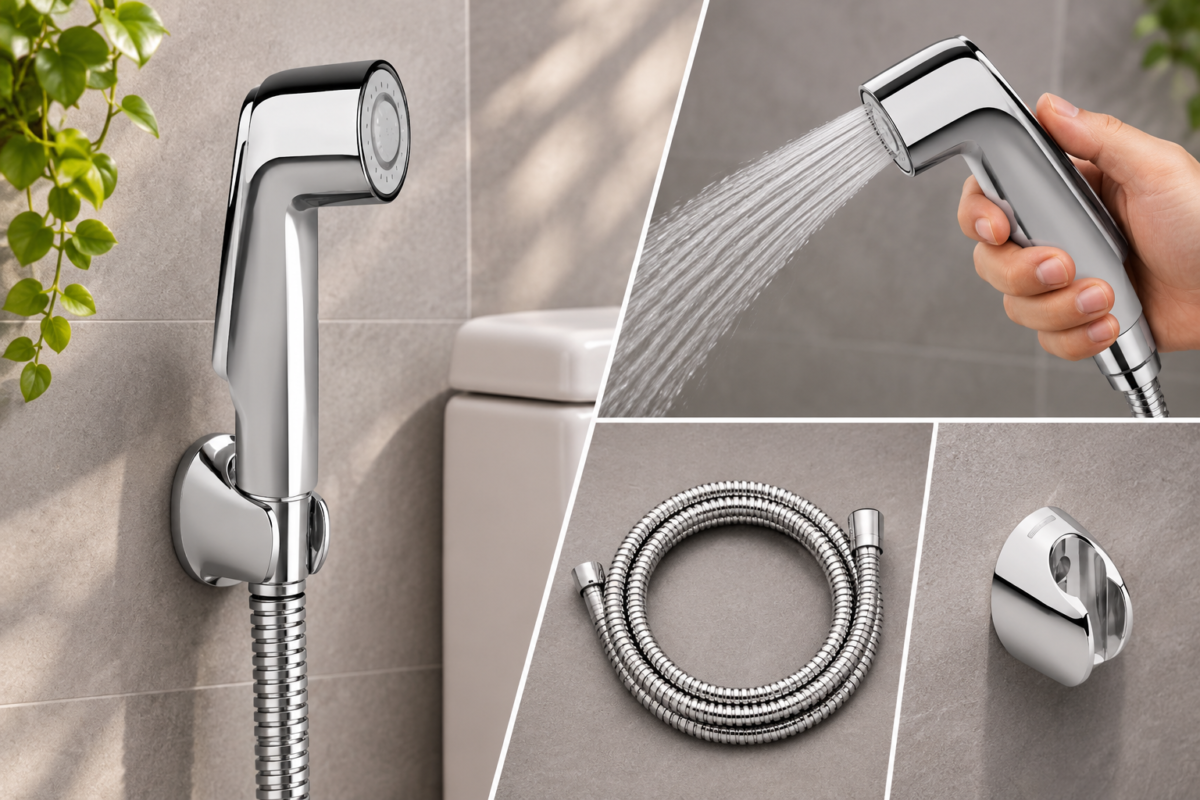
Flush the toilet several times. The cistern should refill fully and stop running within a minute or so. Moreover, the toilet should not rock when you sit on it or push it sideways.
Check the health faucet for leaks at the hose joint and holder. If it needs replacing, a complete Health Faucet Set is a simple upgrade.
6. Floor Drains and Slope
Pour a bucket of water across the shower area and the main floor. It should flow towards the drain without forming pools. Standing water means the floor slope is wrong.
Also check that the floor drain has a working trap. A drain without a proper trap lets in smells and insects.
7. Walls, Tiles and Waterproofing
Finally, look at the walls just outside the bathroom and the ceiling of the flat below if you can. Damp patches, bubbling paint or white salt marks are early signs of a waterproofing or concealed pipe leak.
Frequently Asked Questions
What should a bathroom fittings checklist include?
Check every tap, shower, diverter, angle valve, basin, toilet, health faucet and floor drain. Also look for floor slope, loose tiles and damp patches on nearby walls.
How do I check for leaks in a new bathroom?
Run water at each point for a few minutes and place dry tissue under joints, the bottle trap and the toilet base. Also check walls outside the bathroom for damp spots.
Can I ask the builder to replace faulty fittings?
Yes. Use your bathroom fittings checklist to list every defect with photos and dates, and share it with the builder in writing before or soon after possession. Keep a copy of all communication.
Should I replace builder-grade bathroom fittings?
It depends on their quality and your budget. If taps feel light, handles wobble or finishes look poor, upgrading before you move in saves effort later.
What bathroom sanitary items should a new flat have?
Most flats come with a wash basin, toilet, health faucet, taps, a shower and a floor drain. Accessories such as towel rods and shelves are often left for the owner to add.
Move In with Confidence
A careful bathroom inspection takes less than an hour, but it can save you months of repairs and stress. Use this bathroom fittings checklist on possession day, record every issue and make sure it is fixed before you move in.
If you are upgrading your new bathroom, Salus offers a wide range of bathroom sanitary fittings, showers, taps and accessories designed for Indian homes.
Ready to set up your new bathroom? Explore the range at salusindia.com and contact our team today for product guidance and dealer support near you.