
Installing a hand shower in your bathroom is a great way to enhance your showering experience. Hand showers offer flexibility and convenience, making it easier to rinse off, clean the shower, or give a quick wash to children or pets. In this article, we will guide you through the simple steps to install a hand shower, ensuring you can do it yourself without any hassle.
Tools and Materials You’ll Need

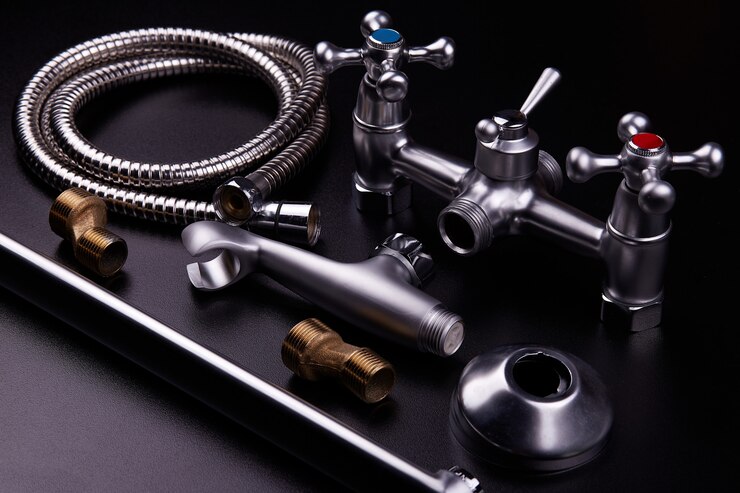
Before you begin, gather the necessary tools and materials for the installation. You will need:
- A hand shower kit (which includes the hand shower, hose, and mounting bracket)
- Adjustable wrench
- Plumber’s tape
- Screwdriver
- Drill (if needed for mounting)
- Level (optional, but helpful for accuracy)
Step-by-Step Installation Process
1. Turn Off the Water Supply
Start by turning off the water supply to your shower. This is typically done by shutting off the main water valve in your home. To avoid any mess, ensure that the faucet is turned on to drain any remaining water in the pipes.
2. Remove the Existing Showerhead
Using an adjustable wrench, carefully unscrew the existing showerhead from the shower arm. Make sure to hold the shower arm with one hand to prevent it from twisting. If it’s too tight, apply some penetrating oil and let it sit for a few minutes before trying again.
3. Prepare the Shower Arm
Once the old showerhead is removed, clean the threads on the shower arm to remove any old plumber’s tape or debris. This will ensure a good seal for the new hand shower.
4. Apply Plumber’s Tape
Wrap plumber’s tape around the threads of the shower arm. This tape helps create a watertight seal, preventing leaks once the hand shower is installed. Make sure to wrap it in a clockwise direction so it doesn’t unravel when you screw on the new showerhead.
5. Attach the Hand Shower Holder
If your hand shower kit includes a mounting bracket, position it on the wall at your desired height. Use a level to ensure it’s straight, then mark the screw holes with a pencil. If you’re installing on tile or drywall, you may need to drill pilot holes. Secure the bracket with screws provided in the kit.
6. Install the Hand Shower
Now, attach the hose to the hand shower. Make sure it is screwed on tightly but be careful not to overtighten, as this can cause damage. Next, attach the other end of the hose to the shower arm where the old showerhead was removed. Again, use your wrench to tighten it securely.
7. Test the Installation
Once everything is connected, turn the water supply back on slowly. Check for any leaks at both connection points. If you notice any leaks, turn off the water and tighten the connections slightly.
8. Adjust the Hand Shower
Most hand showers come with a variety of spray settings. Experiment with the settings to find the one you like best. You can also adjust the height of the hand shower holder if needed.
Tips for Maintenance

Regular Cleaning: To keep your hand shower functioning properly, clean it regularly to remove mineral buildup. You can soak the showerhead in vinegar for a few hours to dissolve deposits.
Check for Leaks: Periodically inspect the connections to ensure there are no leaks. If you notice any, it might be time to replace the plumber’s tape or check the fittings.
Use a Water Softener: If you live in an area with hard water, consider using a water softener. This will help extend the life of your hand shower and prevent mineral buildup.
Conclusion
Installing a hand shower in your bathroom is a straightforward process that can enhance your daily routine. With just a few tools and a bit of time, you can enjoy the convenience and flexibility that a hand shower provides. By following these steps, you can ensure a successful installation, allowing you to refresh and enjoy your showers more fully. Whether you’re upgrading your bathroom or simply looking to make showering more comfortable, a hand shower is a fantastic addition to any home.